

Overview
Cekura tests agents built on the AssemblyAI Voice Agent API over the phone. Cekura dials the number attached to your agent, runs the scenario as a simulated caller, and then uses the AssemblyAI API to find that call and fetch its recorded conversation. The result shows the transcript as AssemblyAI recorded it, with every tool the agent called shown inline as a function call, including the arguments it sent and the response it received.AssemblyAI connects over telephony only. AssemblyAI agents answer inbound calls, so Cekura always places the call; the telephony connection is enabled automatically once the AssemblyAI credentials are saved.
Prerequisites
- An AssemblyAI API key with access to the Voice Agent API.
- A stored agent on AssemblyAI and its agent id (it starts with
agent_). - A phone number routed to that agent. AssemblyAI receives calls from a Twilio number over a SIP trunk; see Set up an inbound phone agent via SIP in the AssemblyAI docs.
Set up AssemblyAI
1
Create the agent
Create a stored agent through the AssemblyAI API or dashboard in the region you will use for telephony, and copy its id (
agent_…). The prompt, greeting, voice and HTTP tools all live on this agent.2
Attach a phone number
Follow AssemblyAI’s Twilio guide: create a Twilio SIP trunk that routes to AssemblyAI, attach your Twilio number to it, then import the number on AssemblyAI and bind the agent to it. Calling the number should reach your agent before you continue.
3
Copy the API key
Copy the API key from the AssemblyAI dashboard. Cekura uses it only to list your agent’s calls and download each call’s conversation after a test.
Connect AssemblyAI in Cekura
1
Select AssemblyAI
In Cekura, go to Agents, create an agent, and select AssemblyAI as the provider. If you don’t see it, click More options to expand the full provider list.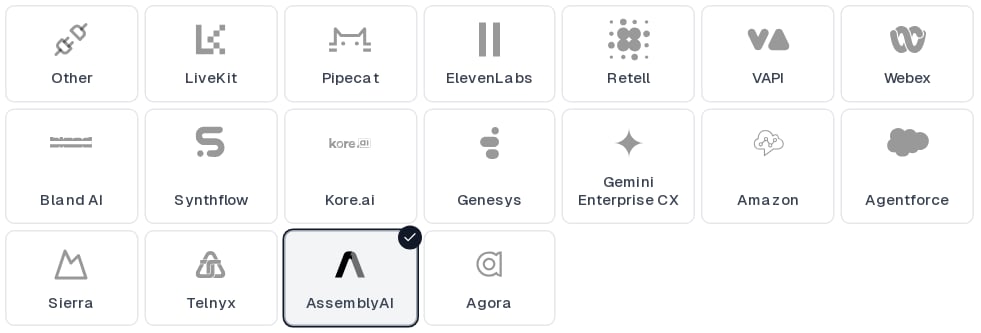
2
Enter the AssemblyAI credentials
Fill in the fields under Integration Settings: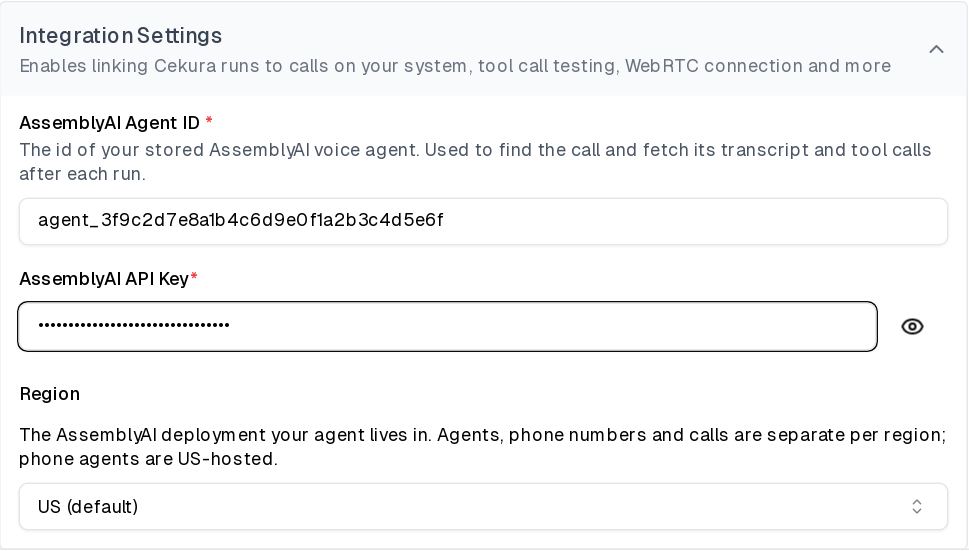
3
Add the phone number
Under Telephony Settings, enter the phone number attached to your AssemblyAI agent. Telephony is the only connection type for AssemblyAI and is enabled automatically. Leave Inbound on so Cekura dials your number.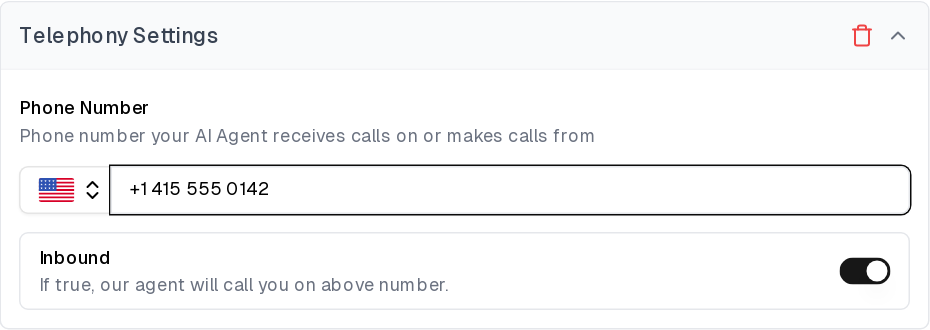
4
Save the agent
Save the agent. The key field shows API Key Configured once it is stored; use Update to rotate it later.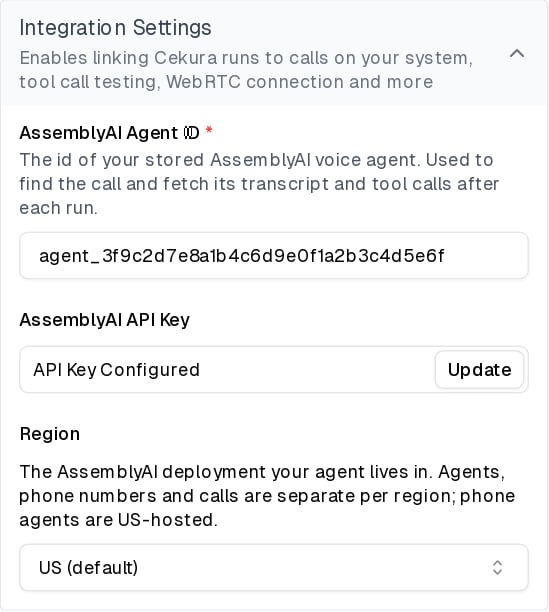
Run a test
Open an evaluator, click Run, and start the run using the Telephony connection. Cekura dials your AssemblyAI number and plays the scenario as the caller. When the call ends, Cekura:- Lists the recent calls on your AssemblyAI account and keeps the ones answered by your agent, placed from the Cekura number, and started within a few seconds of the test call.
- Waits for AssemblyAI to write the call’s conversation record, which usually takes a few seconds after the call ends.
- Confirms the match by comparing the call duration and the conversation content, so parallel test calls to the same agent are each paired with the right AssemblyAI call.
- Replaces its own transcript with the AssemblyAI one and attaches the AssemblyAI call id to the result.
If Cekura cannot find a matching call, the result keeps Cekura’s own transcript of the call. See the troubleshooting section below.
Troubleshooting
- Authentication fails: check that the API key has Voice Agent API access and that the selected Region matches where the agent was created. A key is valid in both regions, but an agent created in one region does not exist in the other.
- No AssemblyAI transcript on the result: confirm the AssemblyAI Agent ID is the agent bound to the number under Telephony Settings. Cekura only considers calls answered by that agent.
- Call not matched: Cekura matches on the phone number it dialed from and the call’s start time. Make sure the run used the Telephony connection and that the number under Telephony Settings is the one bound to the agent on AssemblyAI.
- Number never connects: AssemblyAI answers the call, not Cekura, so a number that does not reach the agent when dialed by hand will not work in a test either. Re-check the SIP trunk routing and the number’s agent binding on AssemblyAI, in the same region as the agent.
Configure through the API
When creating or updating an agent through the API, set the provider toassemblyai and pass the credentials:
assistant_id is the AssemblyAI agent id and is required whenever a key is set. assemblyai_data.region is us (default) or eu. The response never returns the key. Use the read-only assemblyai_api_key_configured field to check whether one is stored.