Overview
Load testing involves gradually increasing the number of concurrent calls to your agent to identify performance bottlenecks and ensure your system can handle expected traffic volumes. Our platform uses three key metrics for load testing:- Talk Ratio: Measures the percentage of time the agent is speaking
- Infrastructure Issues: Detects any technical problems during calls
- Latency: Measures response time performance
Prerequisites
Before starting load testing, ensure you have:- Access to the Cekura platform
- An active agent configured for testing
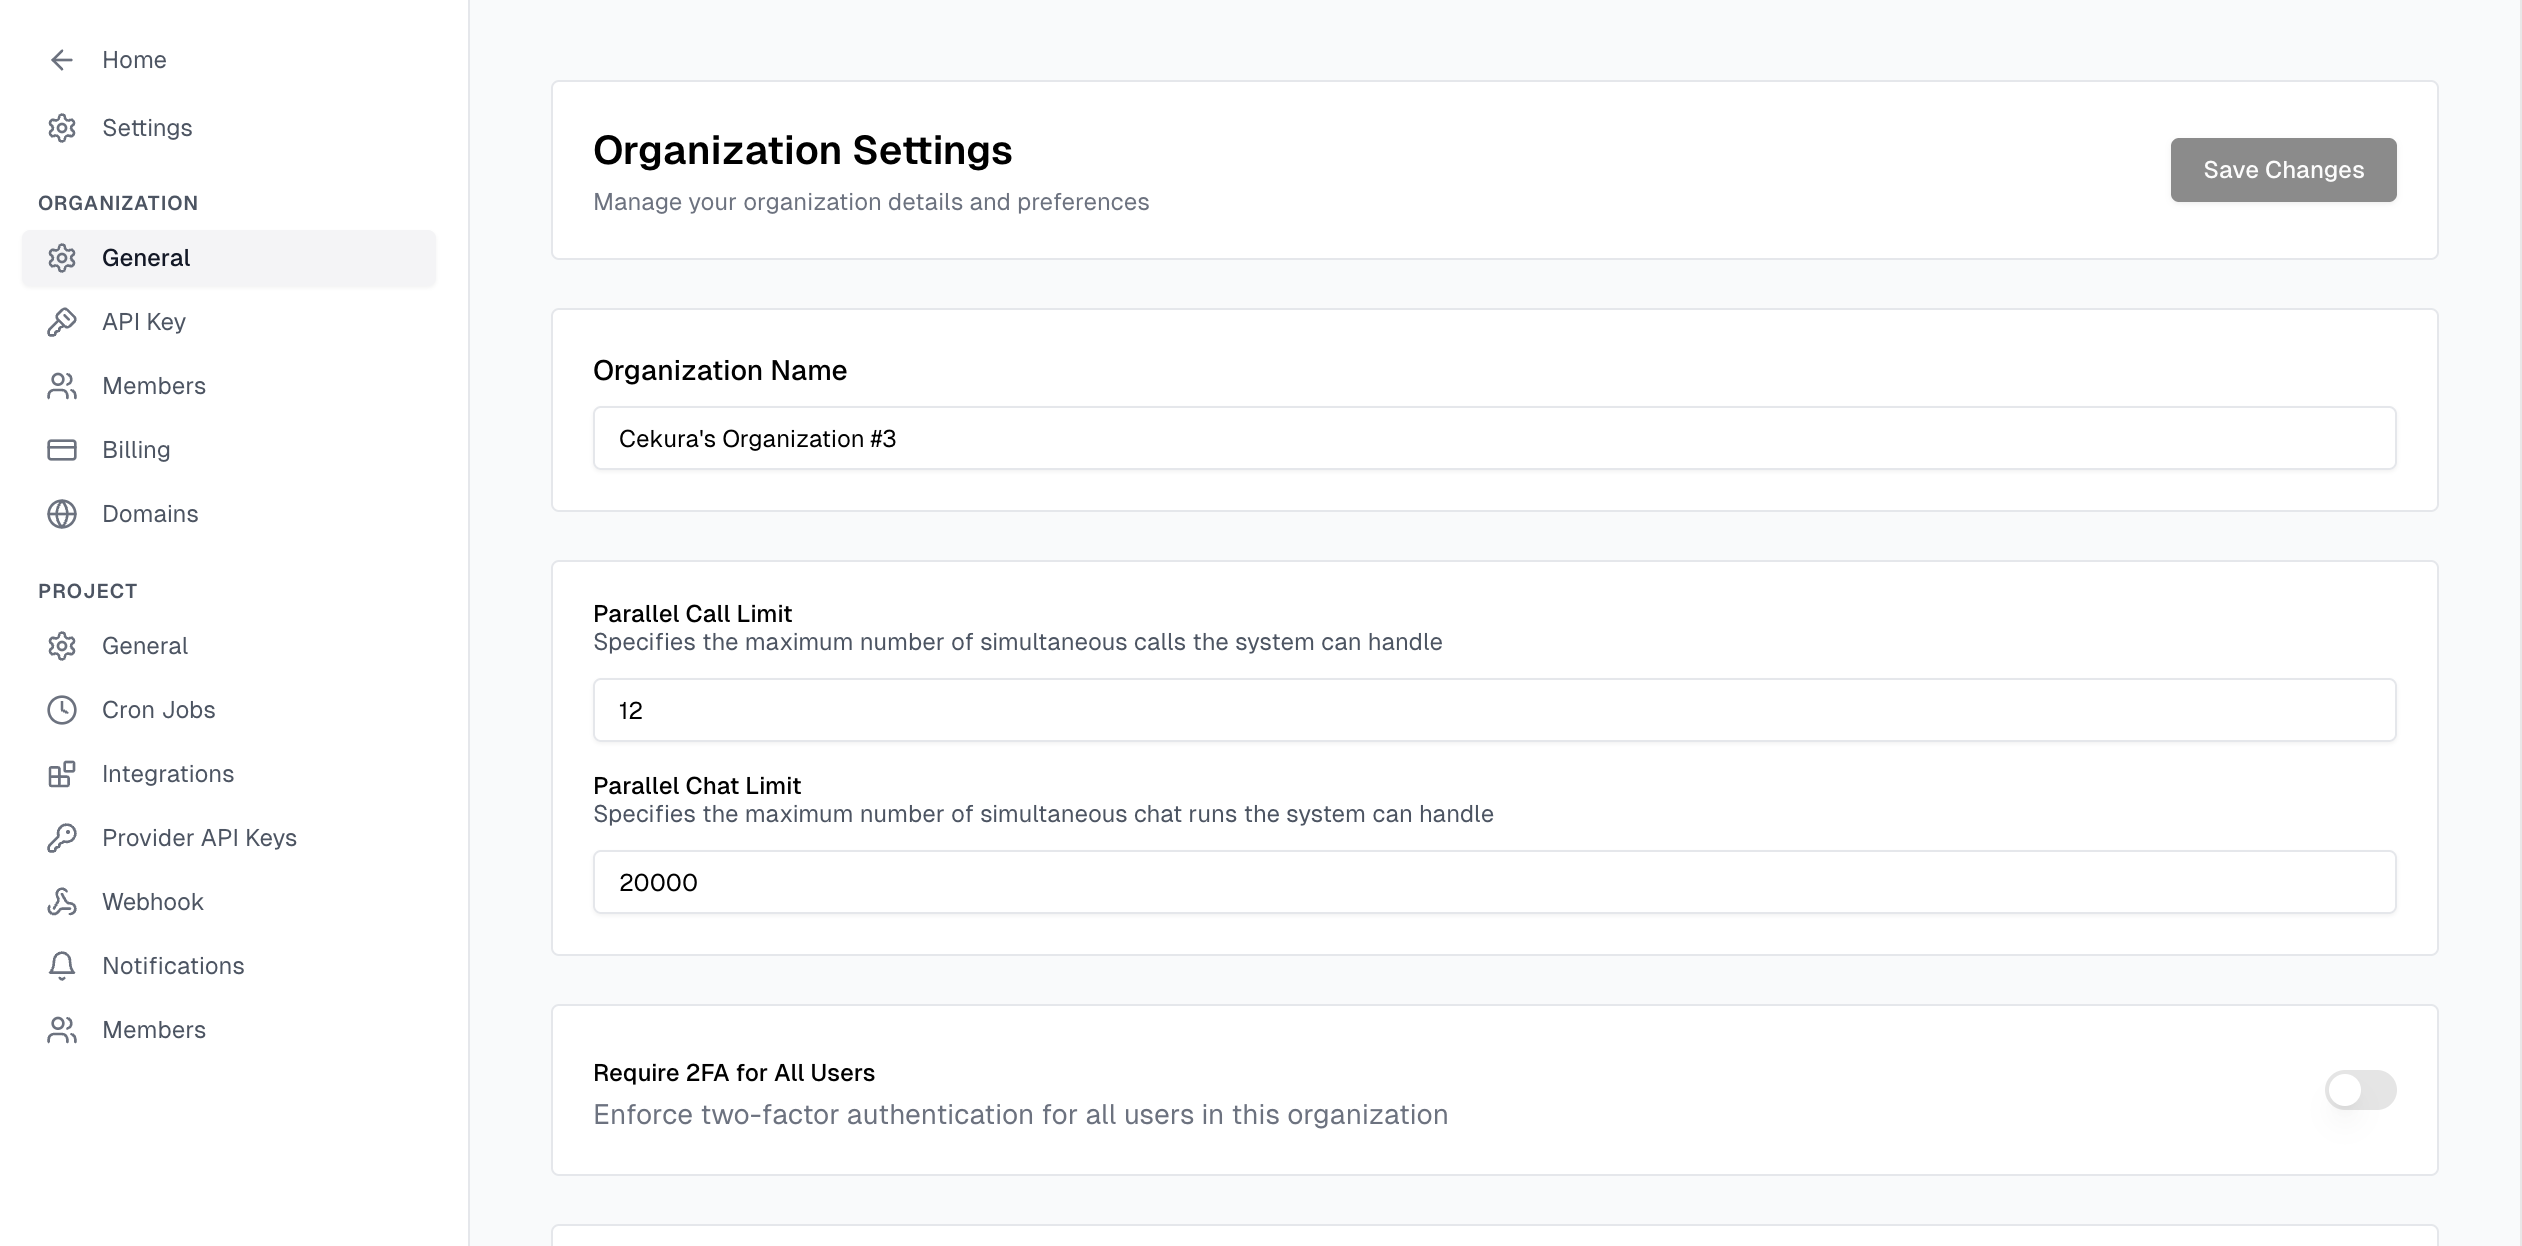
- Appropriate parallel call limits for your organization
Step-by-Step Load Testing Process
Step 1: Create a New Agent
- Navigate to your Cekura dashboard
- Create a new agent specifically for load testing
- Configure the agent with your desired settings
- Ensure the agent is properly set up and functional
Step 2: Generate Test Scenarios
- Generate 10 test scenarios for your agent
- Important: Make sure to disable the “generate expected outcome” button
- Review the scenarios to ensure they represent realistic use cases
- Save the scenarios for your load testing
Step 3: Configure Metrics
By default, the platform will use only these three metrics for load testing:- Talk ratio
- Infrastructure issues
- Latency
Step 4: Initial Test Run
- Run the 10 test cases once to establish a baseline
- Monitor the results for any immediate issues
- Verify that all scenarios execute successfully
- Note the performance metrics from this initial run
Step 5: Gradual Load Increase
- Start Small: If the initial run is successful, increase the number of times to run each test case to 2 or 3
- Monitor Performance: Watch for any degradation in talk ratio, infrastructure issues, or latency
- Incremental Scaling: Slowly increase the number of runs up to 100
- Performance Monitoring: At each step, ensure the system maintains acceptable performance levels

For testing higher loads (more calls in parallel), please contact support.